My parents have given each of our children their first teddy bear. They started the tradition with Isaac; actually, he got two bears, a traditional brown bear and a modern Kaloo bear, now referred to as crocodile bear. They came to stay with us the day after Isaac was born and drove into town especially to buy his first bear. So it was just natural that they'd bring a teddy for Anna and Samuel when they arrived.
Isaac's teddy wears a fireman outfit these days and has recently been to school because they're looking at bears this term. Anna's teddy is supposed to wear a jaunty little necktie but you're more likely to find it around Isaac's neck than teddy's. Samuel's teddy sits in the corner of his cot and gets chewed on regularly.
I still have my first teddy bear; he's a bit thread-bare now but he sits on the top of my bed and gets mauled occasionally by well-meaning children. He sat on a bookshelf above my bunkbed at home then moved to university with me. He has no name but he's so precious to me. He has always had a place in our bedroom and I think he always will.
I'm glad that my children have their own family heirlooms and I'm looking forward to hearing them tell their stories to their own children one day.
Showing posts with label scrapbook. Show all posts
Wednesday, 17 September 2014
Thursday, 7 August 2014
In the albums
These are my pages from May, made with the May Gossamer Blue kit. I love the bright colours and the little stickers. One of the things I like most about the kits is that they also come with a free co-ordinating printable, full of small icons, labels and journalling blocks.
Another insert to capture our first overnight camping trip with the children and our new (inflatable) tent!
I'm storing all my regular pages alongside my project life spreads in one set of albums for each year. I just add the regular pages in roughly the right places chronologically. It's a nice way to highlight special photos or add some more details for holidays or events that have multiple pictures.
Saturday, 26 July 2014
In my scrapbook
I have three scrapbook pages to share with you guys today, all made with Amy Tangerine's Cut and Paste collection plus some extra little bits and bobs.
The first is a page inspired by a semi-recent discussion on the Paperclipping Roundtable podcase about the importance of documenting collections. These two small figurines were the first presents I bought for my mum, on consecutive Christmases. I used my own money and we went to this lovely, random shop called Turtles in Croydon. Sadly it's shut now but it was a DIY-garden-craft-type store and seemed like a treasure trove to a young child.
I've been thinking about making this page for ages and it's one of my 'must-scrap' topics. I love to knit and crochet in front of the tv in the evenings. I quite often give my creations away as gifts for new babies; there's something wonderful about giving a handmade blanket or hat as a welcome present. Each of my children has a handmade blanket but I never managed to make a hat for the older two. You'd think it would be easy but apparently not! I was inspired by Leanne's colour choices for her younger son's hospital blanket and she used the leftover yarn to make a simple stripey hat too. I used Little Tin Bird's Peacock Blue blanket square and the Magic Coffee hat pattern. I also made Samuel a puerperium cardigan and a Milo vest and you can find details on both on my ravelry page.
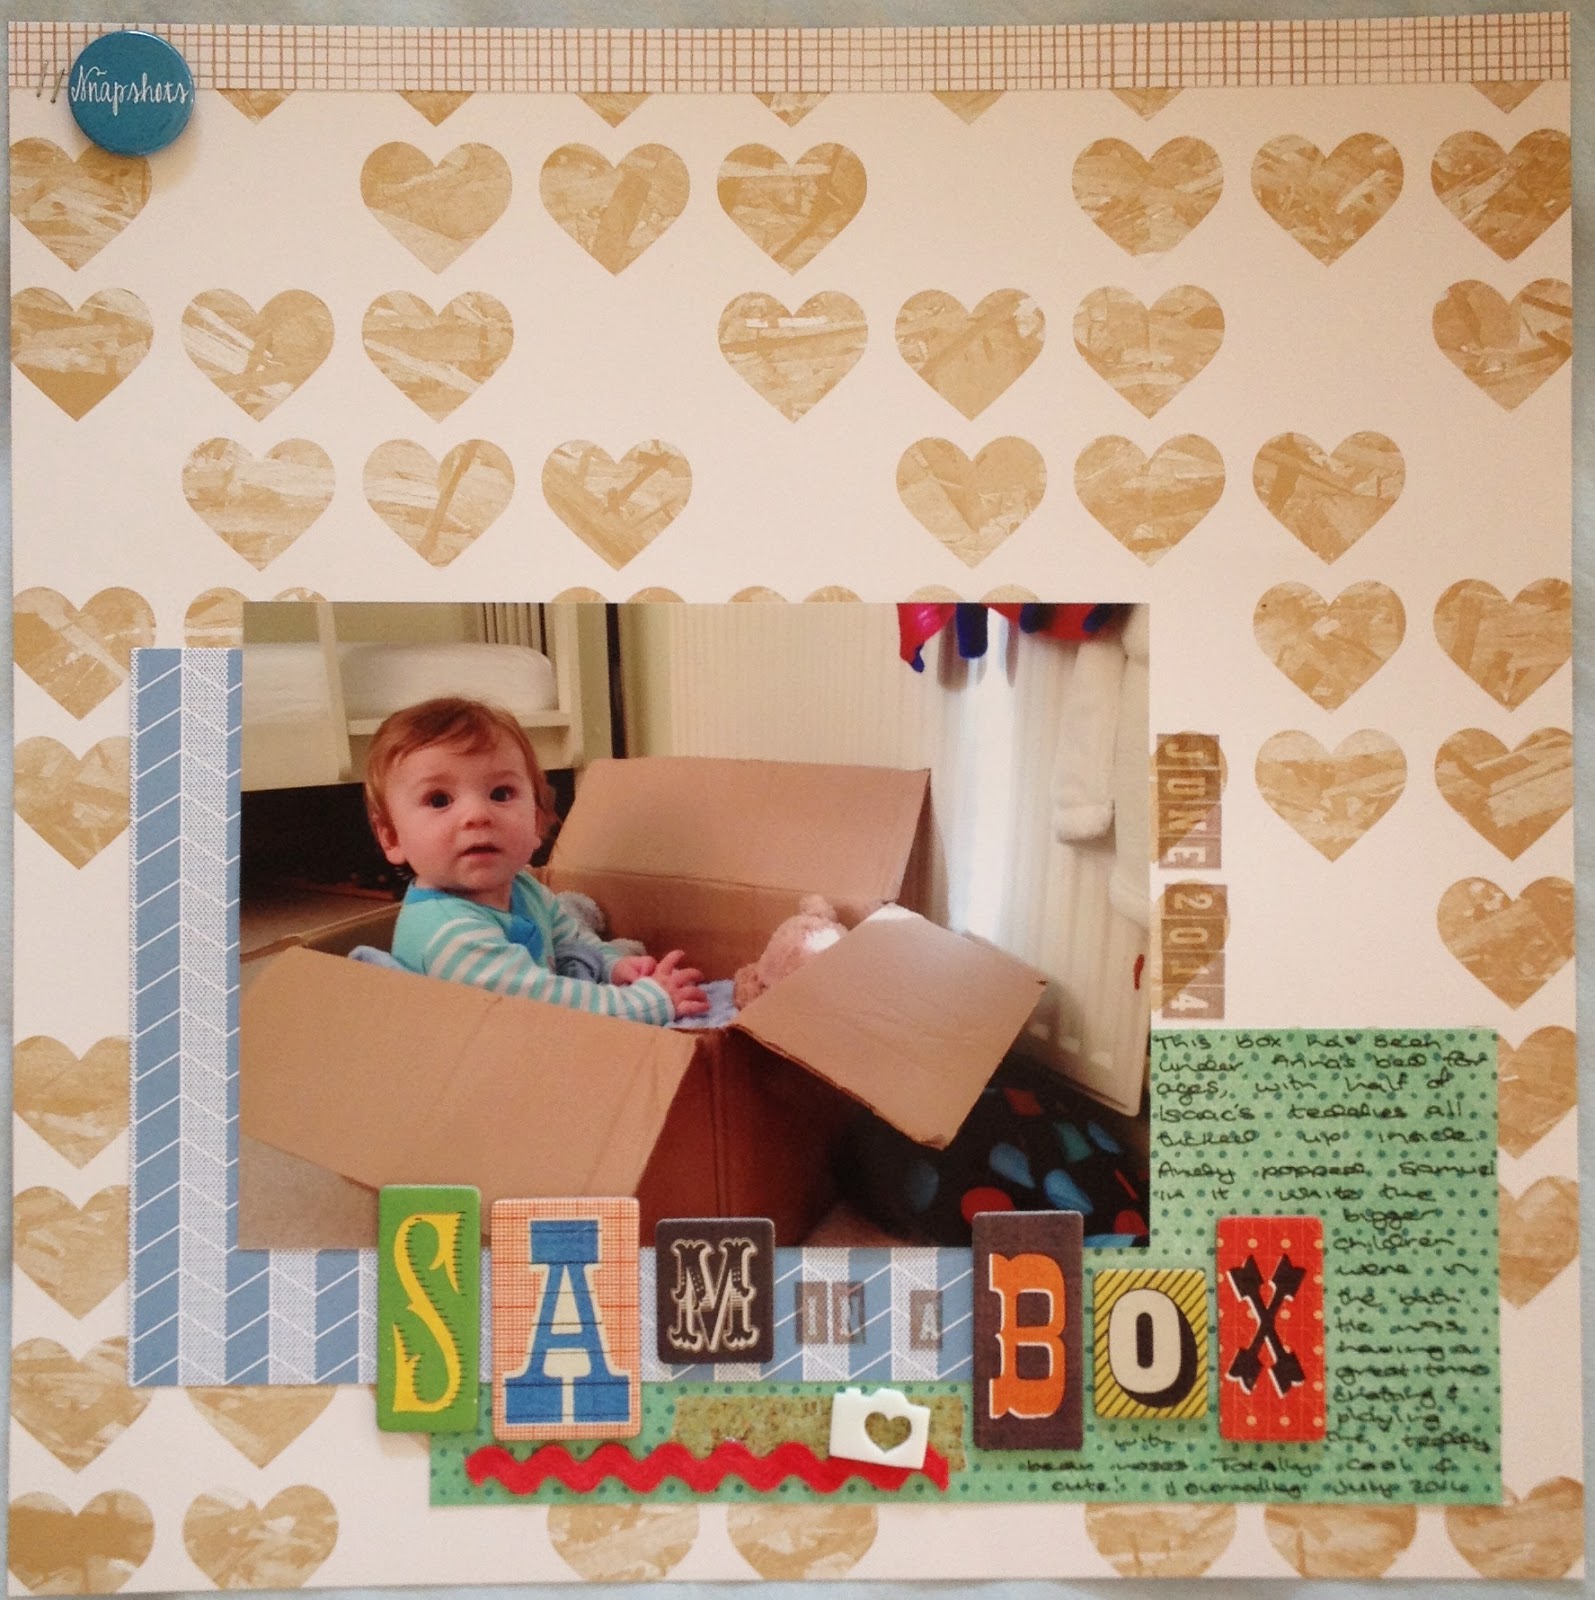
And this page is a 'capture now and celebrate cute pictures' page. There's no important story to tell but sometimes the little everyday moments are the easiest to forget and the sweetest to recall. Samuel in a box, cos that's Andy's sense of humour.
The first is a page inspired by a semi-recent discussion on the Paperclipping Roundtable podcase about the importance of documenting collections. These two small figurines were the first presents I bought for my mum, on consecutive Christmases. I used my own money and we went to this lovely, random shop called Turtles in Croydon. Sadly it's shut now but it was a DIY-garden-craft-type store and seemed like a treasure trove to a young child.
I've been thinking about making this page for ages and it's one of my 'must-scrap' topics. I love to knit and crochet in front of the tv in the evenings. I quite often give my creations away as gifts for new babies; there's something wonderful about giving a handmade blanket or hat as a welcome present. Each of my children has a handmade blanket but I never managed to make a hat for the older two. You'd think it would be easy but apparently not! I was inspired by Leanne's colour choices for her younger son's hospital blanket and she used the leftover yarn to make a simple stripey hat too. I used Little Tin Bird's Peacock Blue blanket square and the Magic Coffee hat pattern. I also made Samuel a puerperium cardigan and a Milo vest and you can find details on both on my ravelry page.
And this page is a 'capture now and celebrate cute pictures' page. There's no important story to tell but sometimes the little everyday moments are the easiest to forget and the sweetest to recall. Samuel in a box, cos that's Andy's sense of humour.
Wednesday, 25 June 2014
On my desk
I've had precious little time to myself this last month; there's always something housework-y that needs doing at any given time. But I'm not too far behind on my project life albums and I've managed to fit some 12x12s in as well.
I took these photos intentionally so I could make this page documenting Sam's love of his monkey toy. I wanted to pull out the bright red and orange alongside the pale blue of his babygro so I dug through my scraps and paper collections to find some different options. It's simple, but it's another important story ready to go in his album (once I actually buy one for him....).
I made this for a class over at Big Picture Classes; the Art and Science of Scrapbooking, which looked at the concept of right- and left-brain tendencies. The challenge was to find a beautiful photo and use this to make a layout (this is how I make most of my 12x12s, left-brained anyone?!). I love the way Anna is looking at Andy. I made 10 page-bases recently, using up the left-overs of a few collections that I loved, and this was one of them so this page came together really quickly. The little deer diecut comes from the Studio Calico Printshop line but I really didn't think the colour went with any of the papers I bought from the line so I'm glad it got used here.
The realities of a photoshoot with three children - you get twenty or thirty crazy shots before you get the perfect pose with everyone smiling or at least looking at the camera!
Samuel's 3 month photoshoot; I'm adding the vest stickers as embellishment on these pages, mostly cos I can't throw anything away! For this page, I pulled papers to match the stickers from the Simple Stories Baby Boy stickers, those elephants are so cute!
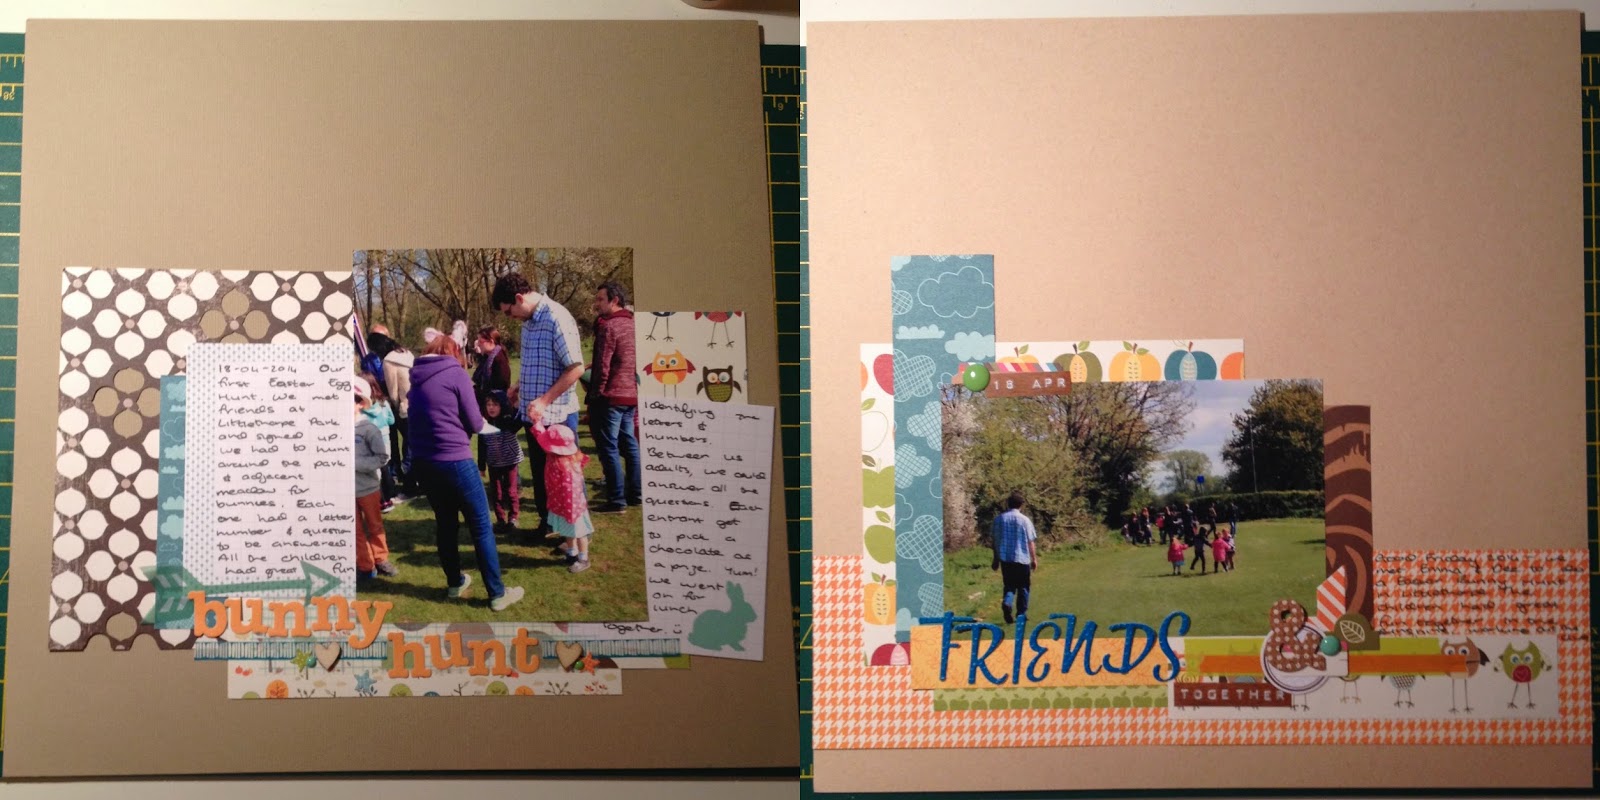
These two pages go next to each other and tell the story of the Easter Egg Hunt we went on with some of my mummy friends. We've never done an egg hunt before and the children loved it. I think the bit they enjoyed the most was playing around in the park and woods with their friends. These are two more page bases with some similar papers to tie them together nicely. I got to use up some really cute Easter project life printables from last year and a few random bits and bobs hanging around on my desk.
I took these photos intentionally so I could make this page documenting Sam's love of his monkey toy. I wanted to pull out the bright red and orange alongside the pale blue of his babygro so I dug through my scraps and paper collections to find some different options. It's simple, but it's another important story ready to go in his album (once I actually buy one for him....).
I made this for a class over at Big Picture Classes; the Art and Science of Scrapbooking, which looked at the concept of right- and left-brain tendencies. The challenge was to find a beautiful photo and use this to make a layout (this is how I make most of my 12x12s, left-brained anyone?!). I love the way Anna is looking at Andy. I made 10 page-bases recently, using up the left-overs of a few collections that I loved, and this was one of them so this page came together really quickly. The little deer diecut comes from the Studio Calico Printshop line but I really didn't think the colour went with any of the papers I bought from the line so I'm glad it got used here.
The realities of a photoshoot with three children - you get twenty or thirty crazy shots before you get the perfect pose with everyone smiling or at least looking at the camera!
Samuel's 3 month photoshoot; I'm adding the vest stickers as embellishment on these pages, mostly cos I can't throw anything away! For this page, I pulled papers to match the stickers from the Simple Stories Baby Boy stickers, those elephants are so cute!
Saturday, 21 September 2013
On going with your first choice
I've not done much scrapbooking in the last few months. There's currently a six week gap in my Project Life album with a couple of missing weeks since. And I hadn't made a 12x12 page in ages until a couple of weeks ago. It felt really awkward getting back into things, like my stash just wouldn't go together in my head or on the page. I made a half-finished page, which is still waiting for a title, journalling and embellishment. The second page, I used a sketch having watched some scrapbooking videos for ideas. It helped to have some recent photos with a story that I love to tell.
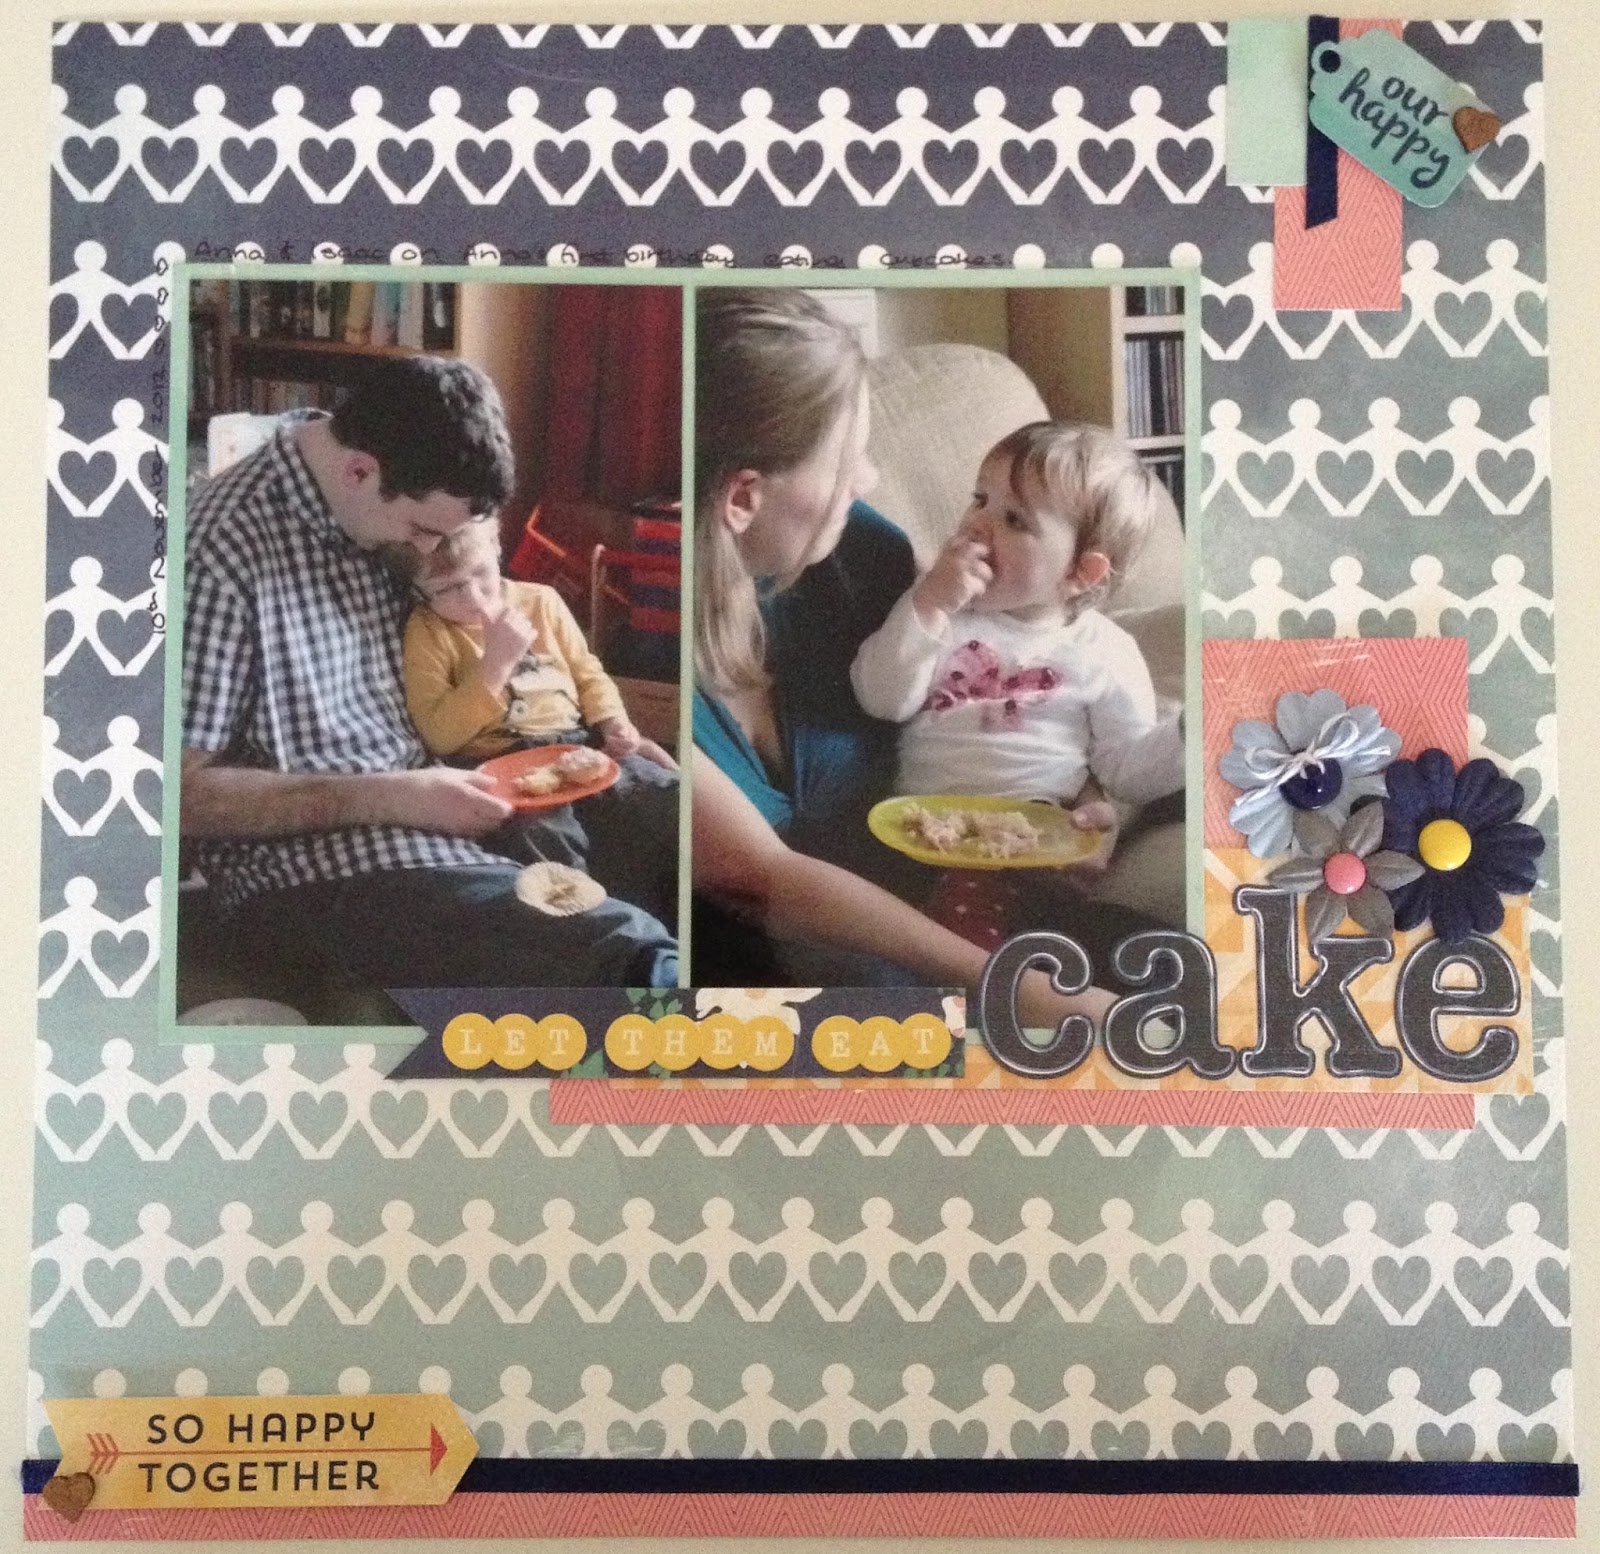
I had some time to spare and a little bit of new stash that arrived this week so I decided to just go with it and not overanalyse my decisions. I chose some photos from Anna's first birthday that would go nicely with the Hello Again collection pack from Carta Bella. And I tried to go with my first decisions; if I found something that looked good, I didn't keep looking, I just used that. Even if there might have been a 'better' choice hiding in there somewhere.
I enjoyed the process actually and it definitely sped things up. My biggest problem is letting go of my perfectionism and making something that's good enough.
I added some Studio Calico wood veneer hearts, flowers and enamel dots from my stash & freebie ribbons from A Trip Down Memory Lane when I bought the collection pack. The centres of the flowers did give me a little trouble - I had a grey enamel dot in the middle of the pale blue flower but it really didn't look right. The only navy button in my jar had a design on the front so I turned it over and added some twine to make it work.
The title is some really old Sassafrass letters and some newer October Afternoon little tiles. I put them a bit higher up initially but changed my mind when I couldn't think of anything to fit the gap next to the bigger letters. So I added another piece of paper and put the OA stickers on top.
The other thing I didn't do was try to save things for another page, like rationing! I love the stickers in the collection pack and they really fit the sentiment of the page. Better to have things on a page where you can see them than in a bag, under the desk! And I think it turned out well for a quick and easy page.
I had some time to spare and a little bit of new stash that arrived this week so I decided to just go with it and not overanalyse my decisions. I chose some photos from Anna's first birthday that would go nicely with the Hello Again collection pack from Carta Bella. And I tried to go with my first decisions; if I found something that looked good, I didn't keep looking, I just used that. Even if there might have been a 'better' choice hiding in there somewhere.
I enjoyed the process actually and it definitely sped things up. My biggest problem is letting go of my perfectionism and making something that's good enough.
I added some Studio Calico wood veneer hearts, flowers and enamel dots from my stash & freebie ribbons from A Trip Down Memory Lane when I bought the collection pack. The centres of the flowers did give me a little trouble - I had a grey enamel dot in the middle of the pale blue flower but it really didn't look right. The only navy button in my jar had a design on the front so I turned it over and added some twine to make it work.
The title is some really old Sassafrass letters and some newer October Afternoon little tiles. I put them a bit higher up initially but changed my mind when I couldn't think of anything to fit the gap next to the bigger letters. So I added another piece of paper and put the OA stickers on top.
The other thing I didn't do was try to save things for another page, like rationing! I love the stickers in the collection pack and they really fit the sentiment of the page. Better to have things on a page where you can see them than in a bag, under the desk! And I think it turned out well for a quick and easy page.
Friday, 22 February 2013
On some very old robot paper
I dug out some old Cosmo Cricket papers earlier this month, trying to use up some old stash before buying some new!
Documenting Andy's Lego creations - I'm pretty sure the toys are supposed to be for Isaac but Andy has great fun building things with and for him. Mostly Isaac asks for fire stations, hence the slides and the big doors. The best one yet was a mobile fire station on the back of a fire engine. Andy clearly has too much free time!!Isaac loves a soft-boiled egg! I've always called them dippy eggs but since he has to bang the tops with his spoon, they've become bang-bang eggs in our house. This 4 squares style of page comes together really quickly, especially if you use an interesting patterned paper in the blank squares. And you can embellish it as much or as little as you like.
This is what happens when a boy who loves clips and straps meets a girl who loves sitting pn things. I will admit that I secured the booster seat to the stairgate, but mostly because Isaac was already trying to strap Anna into it and I was worried she'd fall off the stairs with it on top of her. I love her expression in these photos!
These photos were taken in 2010 at a friend's house. Isaac was really interested in the bouncer, which moved when he pressed on it, and the toys decorating the tray. I have another shot with both boys looking straight at the camera - so cute! This page used up lots of odds and ends of paper, in some strange shapes. I just arranged them so that any gaps were covered up and you'd never know that the blue microchip paper doesn't go all the way under the photos!
Friday, 8 February 2013
On cultivating a good life and recording it
So if you don't know what that title is about then the first thing you need to do is head over to Becky Higgins' Project Life website, cos she can explain it so much better than I can! There's a great introductory video here giving you the basics behind the system and the goodies can be found here. And that, as Becky would say, is all you need to document the little, the lovely and the life-changing things that happen in your life. But were you to google project life or search Pinterest for some more ideas, you'd be overwhelmed by the beautiful albums people are making.
You might remember back in April 2012, I decided to jump on the Project Life bandwagon, creating a side a week about our lives and their little details. I'm amazed to say that I completed my 2012 album just this side of the New Year! It's a great book to look back through and see how things have changed over the last 12 months.
I had a bit of a think about what I want to include, how I want it to work for me and what was holding me back from achieving those things. I love doing a side a week and adding inserts for bigger events. Printing at home works perfectly, no waiting for anything! Having a preselected bunch of stash to use makes the process much quicker and simpler.
I don't want to print eight 4x6 photos every week. In fact, I want to use more paper and smaller prints when I can; printing at home is great but it's reasonably expensive.
I think I want to combine my regular pages and my project life spreads in the same albums this year. Using my bigger pages to focus on beautiful photos, special moments or bigger themes that aren't highlighted enough in project life.
So my Christmas present from Andy was a Seafoam core kit with monthly dividers and some smaller divided page protectors. They arrived toward the end of January and I've been using them to catch-up on our New Year happenings. I think there'll be a few more inserts this year - I love the inspiration I'm finding on instagram looking at all the things my friends get up to.
P.S. I can't believe I've been away so long. I know it's only just over a week for you but I'll let you into a secret, I scheduled those last three posts, so it's been longer for me. I love getting my thoughts down on "paper" and I hadn't realised how much I missed it.
Oh and I haven't forgotten about those Christmas posts - there's one coming up next!
You might remember back in April 2012, I decided to jump on the Project Life bandwagon, creating a side a week about our lives and their little details. I'm amazed to say that I completed my 2012 album just this side of the New Year! It's a great book to look back through and see how things have changed over the last 12 months.
I had a bit of a think about what I want to include, how I want it to work for me and what was holding me back from achieving those things. I love doing a side a week and adding inserts for bigger events. Printing at home works perfectly, no waiting for anything! Having a preselected bunch of stash to use makes the process much quicker and simpler.
I don't want to print eight 4x6 photos every week. In fact, I want to use more paper and smaller prints when I can; printing at home is great but it's reasonably expensive.
I think I want to combine my regular pages and my project life spreads in the same albums this year. Using my bigger pages to focus on beautiful photos, special moments or bigger themes that aren't highlighted enough in project life.
P.S. I can't believe I've been away so long. I know it's only just over a week for you but I'll let you into a secret, I scheduled those last three posts, so it's been longer for me. I love getting my thoughts down on "paper" and I hadn't realised how much I missed it.
Oh and I haven't forgotten about those Christmas posts - there's one coming up next!
Saturday, 19 January 2013
On 5th and Frolic
I wasn't sure about Dear Lizzy's last collection when it came first came out but, as usual, as soon as I saw it being used, particularly those B sides, I decided it was too pretty to pass up. I bought 11 of the papers and cut into it almost immediately (I'm such a brave girl!) The pink, turquoise and white went so well with a couple of photos from last year that I loved. And I had plenty of bits of white and bright pink to embellish them with. I even pulled out my Slice (still learning how much I love that machine!) and die-cut a couple of shapes for that right hand page. I was experimenting with confetti and sparkle at the time, can you tell?!
And then I put the papers away, probably to work on my Project Life album, and moved on to other things. I was musing over the Christmas period about how to make the most of my scrapbooking time and I realised that I spend a lot of time thinking about and choosing the right combinations. I'm also a very visual person, if I can't see something, I rarely remember to use it. So a couple of weeks ago, I pulled out those pretty pinks, green, turquoise and yellow and raided my stash to create a kit that I could make several pages from. I kept to just the 5th and Frolic papers but added 3 different small alphabets, 4 or 5 sets of thickers (and another packet to finish the last page), some border stickers, label stickers, co-ordinating washi tape and ribbon, journalling cards, baker's twine and a couple of mists (really, I just picked those up when I felt they would work, I only have 3 different colours!). Oh, and sequins, gems and enamel dots. I think that's everything.
I store my prints by month in individual paper wallets so I knew I could find some photos to suit the colours from different time periods to stop my albums looking too matchy-matchy (thanks Shimelle for that great piece of advice, I think it was in the Cover to Cover class).
I've made 7 more pages so far and to be honest, there's only scraps of paper left so I think that'll be it unless I make some cards. Looking at them all together, I've realised that they're almost all about Anna but I guess that's inevitable given how pretty and girly they are! I'll show them to you in order of making, it works better in my head.
Beach Bum is a scraplift of a lovely monchromatic page by Jennifer Johner, I heard about her on the Paperclipping Roundtable podcast. It is completely not my style but I thought it was so pretty and delicate. I found the process a little bit uncomfortable and it took flipping ages! But I'm pleased with it, and it definitely inspired me to try some different things on some of the other pages I made. After all that thinking, I needed something simple and straightforward. I love this photo of Sally and Leanne at Sally's daughter's 3rd birthday party. That Nigella cheesecake was delicious! This one came together quickly, though I'm not sure about that yellow tape even now. I love other people's long titles, so I thought I'd try one myself. That ledger paper had a lovely yellow print on the other side so I purposefully trimmed it down to about 8x10 and the rest of the page grew from there.
One thing I love about the newer American Crafts collections is that the branding strip has a pattern on the back of it. The green arrows in Hugs, the green and white stripe in Beach Bum and the narrow green/white stripe in Scrapbookers are all branding strips.
I love this picture of Anna, taken on her first birthday by my Mum. This page was super simple. I stuck down a doily (Sainsburys own brand!), added a few blocks of flowery paper and stitched around the photo with yellow thread. Add a title, a prima flower and a piece of ribbon and it's done. This will mark the start of Anna's birthday pages in her album, similar to Isaac's with all those die-cut stars.
I started Cupcakes with that great big slab of green floral paper. It's really pretty but quite different to the other papers I bought so I was struggling to use it. I started layering other blocks on top, added a journalling card, some washi and another branding strip. That stripe and the multi-coloured floral have all the other colours in them so they draw the different elements together nicely.
That baker's twine is attached with Glossy Accents, a liquid glue; I just allow it to dry slightly before curling the twine into it using some craft tweezers. And the cupcakes were delicious - there's a page yet to be made with photos of Anna stuffing her face!
Ready, Steady, Go! was almost titled Ready, Set, Go! until I remembered I wasn't American. It's similar in style to Beach Bum and loosely based on layouts by people like Marcy Penner and Lisa Trusdell. And you can see the similarities with Cuddle Monkey too. Isn't the green/blue bird paper beautiful?! This is actually the B side, I debated which side to use or whether to cut it up for ages before finally deciding to just buy another sheet. It has a clean arrow design on the A side which would be great for a more masculine page. I'm also planning to buy another of the giant chevron from Now for the house print on the other side. The ledger strips at the top and bottom were, you guessed it, branding strips from two different papers.
I love that silver glittery ribbon; it came on a gift from a friend and I've nearly used it all now. Must ask her where she got it! I'm really keen to have the date of the photo visible on each page, it not only gives the reader a sense of time passing, it helps me sort them into albums more easily too!
And the last one, a really sweet picture of Isaac's first friends. These kids were born within 6 weeks of each other and we've been meeting regularly for coffee and cake since they were a couple of months old. I have photos of them all lying on a playmat in February 2011 and I can't believe how much they've grown!
I had one large piece of paper left - that bright pink vertical stripe - so I used it as a base to layer some horizontal block. It wasn't quite big enough for two 4x6 photos but a single one looked a bit lost so I trimmed the photos down to 3.5x5, losing much of the background but thankfully none of the babies. And then I just added some strips of this and that over the top until it felt down. The yellow scallop at the bottom and the friends flashcard are a bit more cream-toned than the rest but I think it works. Little secret? The hot pink ribbon, the thin striped strip and the green chevron washi don't go all the way under the photos. I added them later and there wasn't enough of the striped bit so I just cut it and put one piece just under the photo on each side. So now you know!
And then I put the papers away, probably to work on my Project Life album, and moved on to other things. I was musing over the Christmas period about how to make the most of my scrapbooking time and I realised that I spend a lot of time thinking about and choosing the right combinations. I'm also a very visual person, if I can't see something, I rarely remember to use it. So a couple of weeks ago, I pulled out those pretty pinks, green, turquoise and yellow and raided my stash to create a kit that I could make several pages from. I kept to just the 5th and Frolic papers but added 3 different small alphabets, 4 or 5 sets of thickers (and another packet to finish the last page), some border stickers, label stickers, co-ordinating washi tape and ribbon, journalling cards, baker's twine and a couple of mists (really, I just picked those up when I felt they would work, I only have 3 different colours!). Oh, and sequins, gems and enamel dots. I think that's everything.
I store my prints by month in individual paper wallets so I knew I could find some photos to suit the colours from different time periods to stop my albums looking too matchy-matchy (thanks Shimelle for that great piece of advice, I think it was in the Cover to Cover class).
I've made 7 more pages so far and to be honest, there's only scraps of paper left so I think that'll be it unless I make some cards. Looking at them all together, I've realised that they're almost all about Anna but I guess that's inevitable given how pretty and girly they are! I'll show them to you in order of making, it works better in my head.
Beach Bum is a scraplift of a lovely monchromatic page by Jennifer Johner, I heard about her on the Paperclipping Roundtable podcast. It is completely not my style but I thought it was so pretty and delicate. I found the process a little bit uncomfortable and it took flipping ages! But I'm pleased with it, and it definitely inspired me to try some different things on some of the other pages I made. After all that thinking, I needed something simple and straightforward. I love this photo of Sally and Leanne at Sally's daughter's 3rd birthday party. That Nigella cheesecake was delicious! This one came together quickly, though I'm not sure about that yellow tape even now. I love other people's long titles, so I thought I'd try one myself. That ledger paper had a lovely yellow print on the other side so I purposefully trimmed it down to about 8x10 and the rest of the page grew from there.
One thing I love about the newer American Crafts collections is that the branding strip has a pattern on the back of it. The green arrows in Hugs, the green and white stripe in Beach Bum and the narrow green/white stripe in Scrapbookers are all branding strips.
I love this picture of Anna, taken on her first birthday by my Mum. This page was super simple. I stuck down a doily (Sainsburys own brand!), added a few blocks of flowery paper and stitched around the photo with yellow thread. Add a title, a prima flower and a piece of ribbon and it's done. This will mark the start of Anna's birthday pages in her album, similar to Isaac's with all those die-cut stars.
I started Cupcakes with that great big slab of green floral paper. It's really pretty but quite different to the other papers I bought so I was struggling to use it. I started layering other blocks on top, added a journalling card, some washi and another branding strip. That stripe and the multi-coloured floral have all the other colours in them so they draw the different elements together nicely.
That baker's twine is attached with Glossy Accents, a liquid glue; I just allow it to dry slightly before curling the twine into it using some craft tweezers. And the cupcakes were delicious - there's a page yet to be made with photos of Anna stuffing her face!
Ready, Steady, Go! was almost titled Ready, Set, Go! until I remembered I wasn't American. It's similar in style to Beach Bum and loosely based on layouts by people like Marcy Penner and Lisa Trusdell. And you can see the similarities with Cuddle Monkey too. Isn't the green/blue bird paper beautiful?! This is actually the B side, I debated which side to use or whether to cut it up for ages before finally deciding to just buy another sheet. It has a clean arrow design on the A side which would be great for a more masculine page. I'm also planning to buy another of the giant chevron from Now for the house print on the other side. The ledger strips at the top and bottom were, you guessed it, branding strips from two different papers.
I love that silver glittery ribbon; it came on a gift from a friend and I've nearly used it all now. Must ask her where she got it! I'm really keen to have the date of the photo visible on each page, it not only gives the reader a sense of time passing, it helps me sort them into albums more easily too!
And the last one, a really sweet picture of Isaac's first friends. These kids were born within 6 weeks of each other and we've been meeting regularly for coffee and cake since they were a couple of months old. I have photos of them all lying on a playmat in February 2011 and I can't believe how much they've grown!
Thursday, 15 November 2012
On a little bit of pink
It's been a busy month but I'm starting to get a handle on working, being a full-time mummy and keeping house. Either that or the evenings are getting longer! So here's the pages I've made in October;
I finally scrapped the story of my rings, mostly taken from this post. Lots of scraps and some lovely new MME tape on this page.
Making the blind for our kitchen. It's still not finished though!
Anna's first cuddles with her daddy, mostly using Bella Blvd Baby Girl.
I love these photos of Isaac brushing his teeth, especially that last one! And yes, I like a bit of pink on my boy pages! Using up old papers on this one with some really simple embellishments.
And using the same set of papers again, getting a different look with some of Anna's baby photos.
And some more! Anna's only about 4 hours old in these and she was making the sweetest noises.
This picture illustrates perfectly why my brother gets on so well with my kids, they're just on the same level! I used some new OA Woodland Park papers, some Elle's Studio tags from last season and some really old stuff from my stash.
Wednesday, 17 October 2012
On a paper-related note
Life is still crazy round here, so I thought I'd just pop in with a few crafty things I've been up to lately. I made all these pages in September, before I went back to work. Oh how I miss my free time!!
My brother and his wife on their wedding day. They rode in a golf buggy to take their posed photos. Cue some amusing shots!
Isaac and Andy riding the escalators in the shopping centre near my parents' house. I used to work in Waterstone's here and came shopping with my friends when I was a teenager. I think this was Isaac's first time walking on an escalator (we usually have a buggy and take the lifts).
Using some new stash in the week it arrived! Just a bit of documenting our everyday routine before it changed again. I like having the little details of our lives captured like this. Again, I used a couple of generic photos, love that one of Isaac having a tantrum!
Finishing up the pages for Isaac's 2nd birthday - this one is his birthday lunch with our Mummy & Baby group.
I love this shot of Isaac on the morning of his birthday. The journalling tells about our routine that morning. It faces the page below, so the photos of him and Anna opening gifts sort of go with it.
The other half of this page is about the star decorations I put up in our kitchen. There's not much here, I wanted to get these pages finished and get the stories written down. I like how simple it looks though.
Photos of Isaac playing with his birthday presents and a list of the gifts he received. All supplies are Echo Park Little Boy (I think).
A simple page to use up some leftover OA Cherry Hill papers. We call Anna all sorts of things, including Annabella and it reminded me of the rhyme 'Peter Peter Pumpkin Eater'. She can find a small scrap of paper on the floor in the middle of a room in a matter of seconds! (Though actually, in this shot she's going for Isaac's cup, it's hiding behind the banner. A nice example of using a generic photo to illustrate a bigger story.)
Each year, on Facebook, you can use your status updates to customise a square print. I used this to do a 2010 summary page last year and did the same again with 2011. It wasn't as representative of the year's events, partly because I've moved away from Facebook as my main social networking platform, so I added a short list of highlights next to the photo.My brother and his wife on their wedding day. They rode in a golf buggy to take their posed photos. Cue some amusing shots!
Isaac and Andy riding the escalators in the shopping centre near my parents' house. I used to work in Waterstone's here and came shopping with my friends when I was a teenager. I think this was Isaac's first time walking on an escalator (we usually have a buggy and take the lifts).
Using some new stash in the week it arrived! Just a bit of documenting our everyday routine before it changed again. I like having the little details of our lives captured like this. Again, I used a couple of generic photos, love that one of Isaac having a tantrum!
Finishing up the pages for Isaac's 2nd birthday - this one is his birthday lunch with our Mummy & Baby group.
I love this shot of Isaac on the morning of his birthday. The journalling tells about our routine that morning. It faces the page below, so the photos of him and Anna opening gifts sort of go with it.
The other half of this page is about the star decorations I put up in our kitchen. There's not much here, I wanted to get these pages finished and get the stories written down. I like how simple it looks though.
Photos of Isaac playing with his birthday presents and a list of the gifts he received. All supplies are Echo Park Little Boy (I think).
And last, but not least, an everyday page about the simplest meal I make, that the kids just adore. And a cute pic of Anna covered in tomato sauce! Supplies are Echo Park Summertime and it's based on a starting point by the inspirational Shimelle.
Subscribe to:
Posts (Atom)